데이터를 조회 하는 방법임.
※앞선 코드는 아래 주소 참조 :
https://asterisco.tistory.com/68
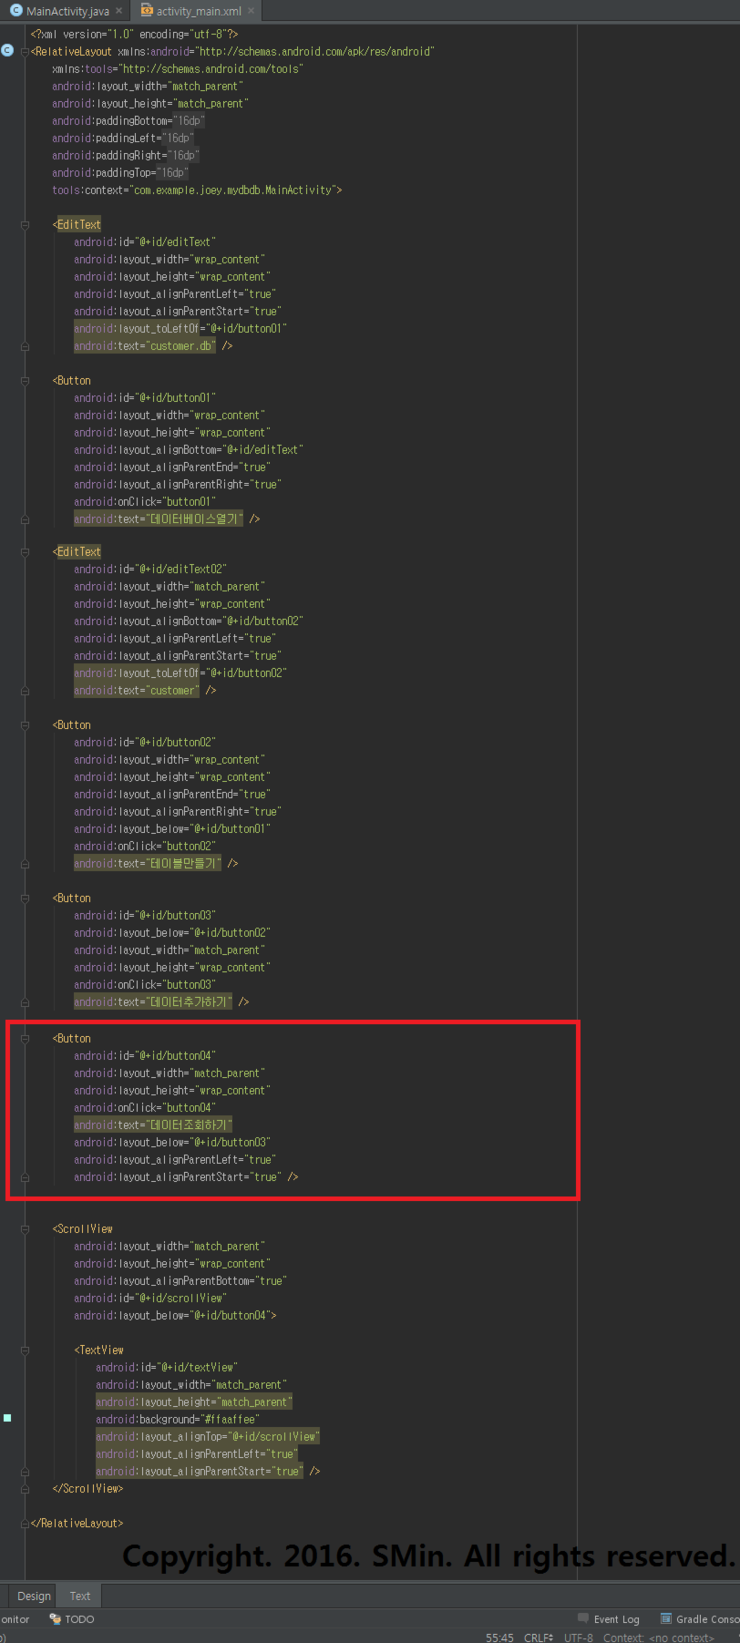
00. main xml에서 버튼하나를 더 만든다.
<?xml version="1.0" encoding="utf-8"?>
<RelativeLayout xmlns:android="http://schemas.android.com/apk/res/android"
xmlns:tools="http://schemas.android.com/tools"
android:layout_width="match_parent"
android:layout_height="match_parent"
android:paddingBottom="@dimen/activity_vertical_margin"
android:paddingLeft="@dimen/activity_horizontal_margin"
android:paddingRight="@dimen/activity_horizontal_margin"
android:paddingTop="@dimen/activity_vertical_margin"
tools:context="com.example.joey.mydbdb.MainActivity">
<EditText
android:id="@+id/editText"
android:layout_width="wrap_content"
android:layout_height="wrap_content"
android:layout_alignParentLeft="true"
android:layout_alignParentStart="true"
android:layout_toLeftOf="@+id/button01"
android:text="customer.db" />
<Button
android:id="@+id/button01"
android:layout_width="wrap_content"
android:layout_height="wrap_content"
android:layout_alignBottom="@+id/editText"
android:layout_alignParentEnd="true"
android:layout_alignParentRight="true"
android:onClick="button01"
android:text="데이터베이스열기" />
<EditText
android:id="@+id/editText02"
android:layout_width="match_parent"
android:layout_height="wrap_content"
android:layout_alignBottom="@+id/button02"
android:layout_alignParentLeft="true"
android:layout_alignParentStart="true"
android:layout_toLeftOf="@+id/button02"
android:text="customer" />
<Button
android:id="@+id/button02"
android:layout_width="wrap_content"
android:layout_height="wrap_content"
android:layout_alignParentEnd="true"
android:layout_alignParentRight="true"
android:layout_below="@+id/button01"
android:onClick="button02"
android:text="테이블만들기" />
<Button
android:id="@+id/button03"
android:layout_below="@+id/button02"
android:layout_width="match_parent"
android:layout_height="wrap_content"
android:onClick="button03"
android:text="데이터추가하기" />
<Button
android:id="@+id/button04"
android:layout_width="match_parent"
android:layout_height="wrap_content"
android:onClick="button04"
android:text="데이터조회하기"
android:layout_below="@+id/button03"
android:layout_alignParentLeft="true"
android:layout_alignParentStart="true" />
<ScrollView
android:layout_width="match_parent"
android:layout_height="wrap_content"
android:layout_alignParentBottom="true"
android:id="@+id/scrollView"
android:layout_below="@+id/button04">
<TextView
android:id="@+id/textView"
android:layout_width="match_parent"
android:layout_height="match_parent"
android:background="#ffaaffee"
android:layout_alignTop="@+id/scrollView"
android:layout_alignParentLeft="true"
android:layout_alignParentStart="true" />
</ScrollView>
</RelativeLayout>

01. 이런 식의 배치임을 확인을 하고 main script로 넘어가자.

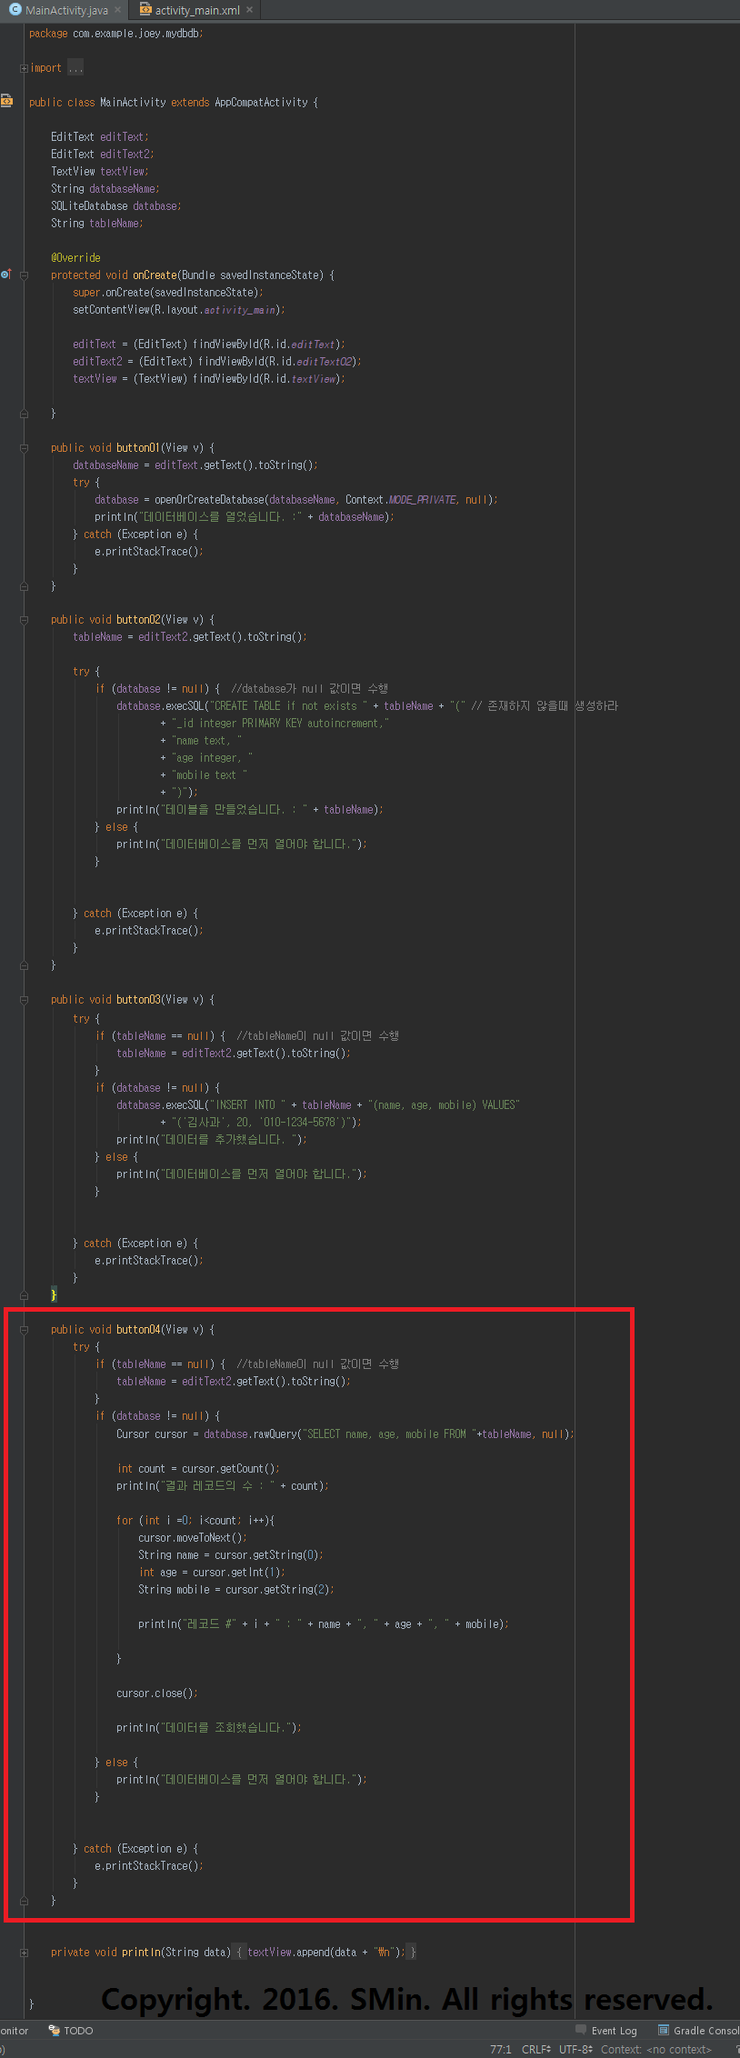
02. 코드를 입력한다. 추가된부분(버튼4)만 입력하자.
package com.example.joey.mydbdb;
import android.content.Context;
import android.database.Cursor;
import android.database.sqlite.SQLiteDatabase;
import android.os.Bundle;
import android.support.v7.app.AppCompatActivity;
import android.view.View;
import android.widget.EditText;
import android.widget.TextView;
public class MainActivity extends AppCompatActivity {
EditText editText;
EditText editText2;
TextView textView;
String databaseName;
SQLiteDatabase database;
String tableName;
@Override
protected void onCreate(Bundle savedInstanceState) {
super.onCreate(savedInstanceState);
setContentView(R.layout.activity_main);
editText = (EditText) findViewById(R.id.editText);
editText2 = (EditText) findViewById(R.id.editText02);
textView = (TextView) findViewById(R.id.textView);
}
public void button01(View v) {
databaseName = editText.getText().toString();
try {
database = openOrCreateDatabase(databaseName, Context.MODE_PRIVATE, null);
println("데이터베이스를 열었습니다. :" + databaseName);
} catch (Exception e) {
e.printStackTrace();
}
}
public void button02(View v) {
tableName = editText2.getText().toString();
try {
if (database != null) { //database가 null 값이면 수행
database.execSQL("CREATE TABLE if not exists " + tableName + "(" // 존재하지 않을때 생성하라
+ "_id integer PRIMARY KEY autoincrement,"
+ "name text, "
+ "age integer, "
+ "mobile text "
+ ")");
println("테이블을 만들었습니다. : " + tableName);
} else {
println("데이터베이스를 먼저 열어야 합니다.");
}
} catch (Exception e) {
e.printStackTrace();
}
}
public void button03(View v) {
try {
if (tableName == null) { //tableName이 null 값이면 수행
tableName = editText2.getText().toString();
}
if (database != null) {
database.execSQL("INSERT INTO " + tableName + "(name, age, mobile) VALUES"
+ "('김사과', 20, '010-1234-5678')");
println("데이터를 추가했습니다. ");
} else {
println("데이터베이스를 먼저 열어야 합니다.");
}
} catch (Exception e) {
e.printStackTrace();
}
}
public void button04(View v) {
try {
if (tableName == null) { //tableName이 null 값이면 수행
tableName = editText2.getText().toString();
}
if (database != null) {
Cursor cursor = database.rawQuery("SELECT name, age, mobile FROM "+tableName, null);
int count = cursor.getCount();
println("결과 레코드의 수 : " + count);
for (int i =0; i<count; i++){
cursor.moveToNext();
String name = cursor.getString(0);
int age = cursor.getInt(1);
String mobile = cursor.getString(2);
println("레코드 #" + i + " : " + name + ", " + age + ", " + mobile);
}
cursor.close();
println("데이터를 조회했습니다.");
} else {
println("데이터베이스를 먼저 열어야 합니다.");
}
} catch (Exception e) {
e.printStackTrace();
}
}
private void println(String data) {
textView.append(data + "\n");
}
}

03. 실행시켜본다.

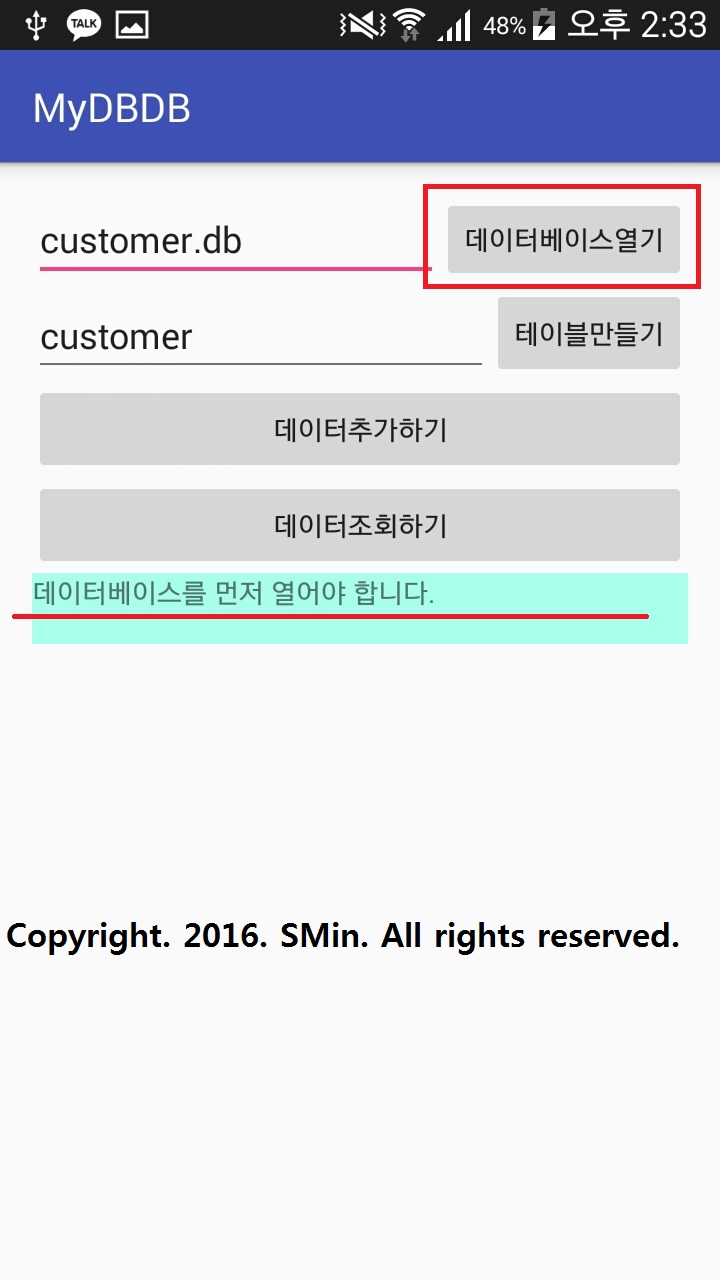
04. 테이블만들기 버튼을 먼저 눌러본다.

05. 데이터베이스를 열어야한다는 문구를 확인하고 데이터베이스열기 버튼을 클릭한다.

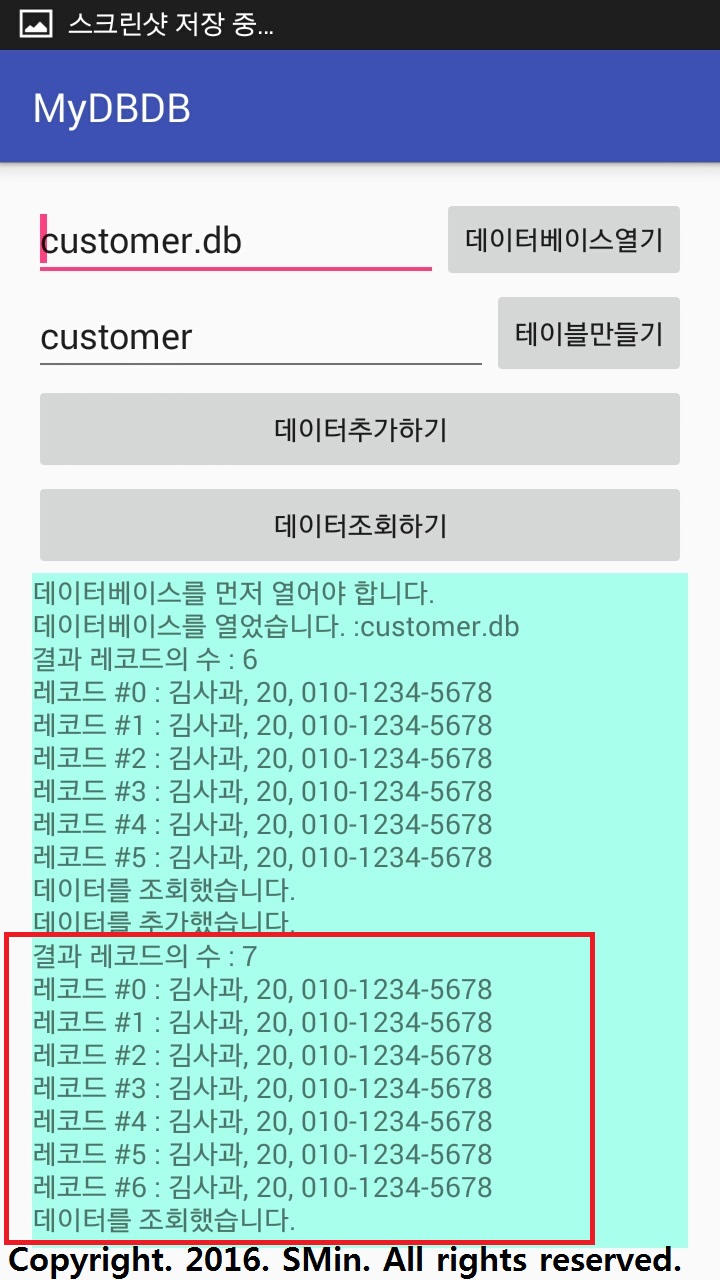
06. 데이터가 열린것을 확인 하고 어떤 데이터가 있는지 데이터조회하기를 클릭한다.

07. 6건의 데이터의 존재를 볼수 있다. 데이터 추가하기를 눌러서 추가해보자.

08. 데이터가 추가된것을 확인한후 조회하기를 다시 눌러보자.

09. 7개의 데이터가 존재함을 확인 할 수 있다.
